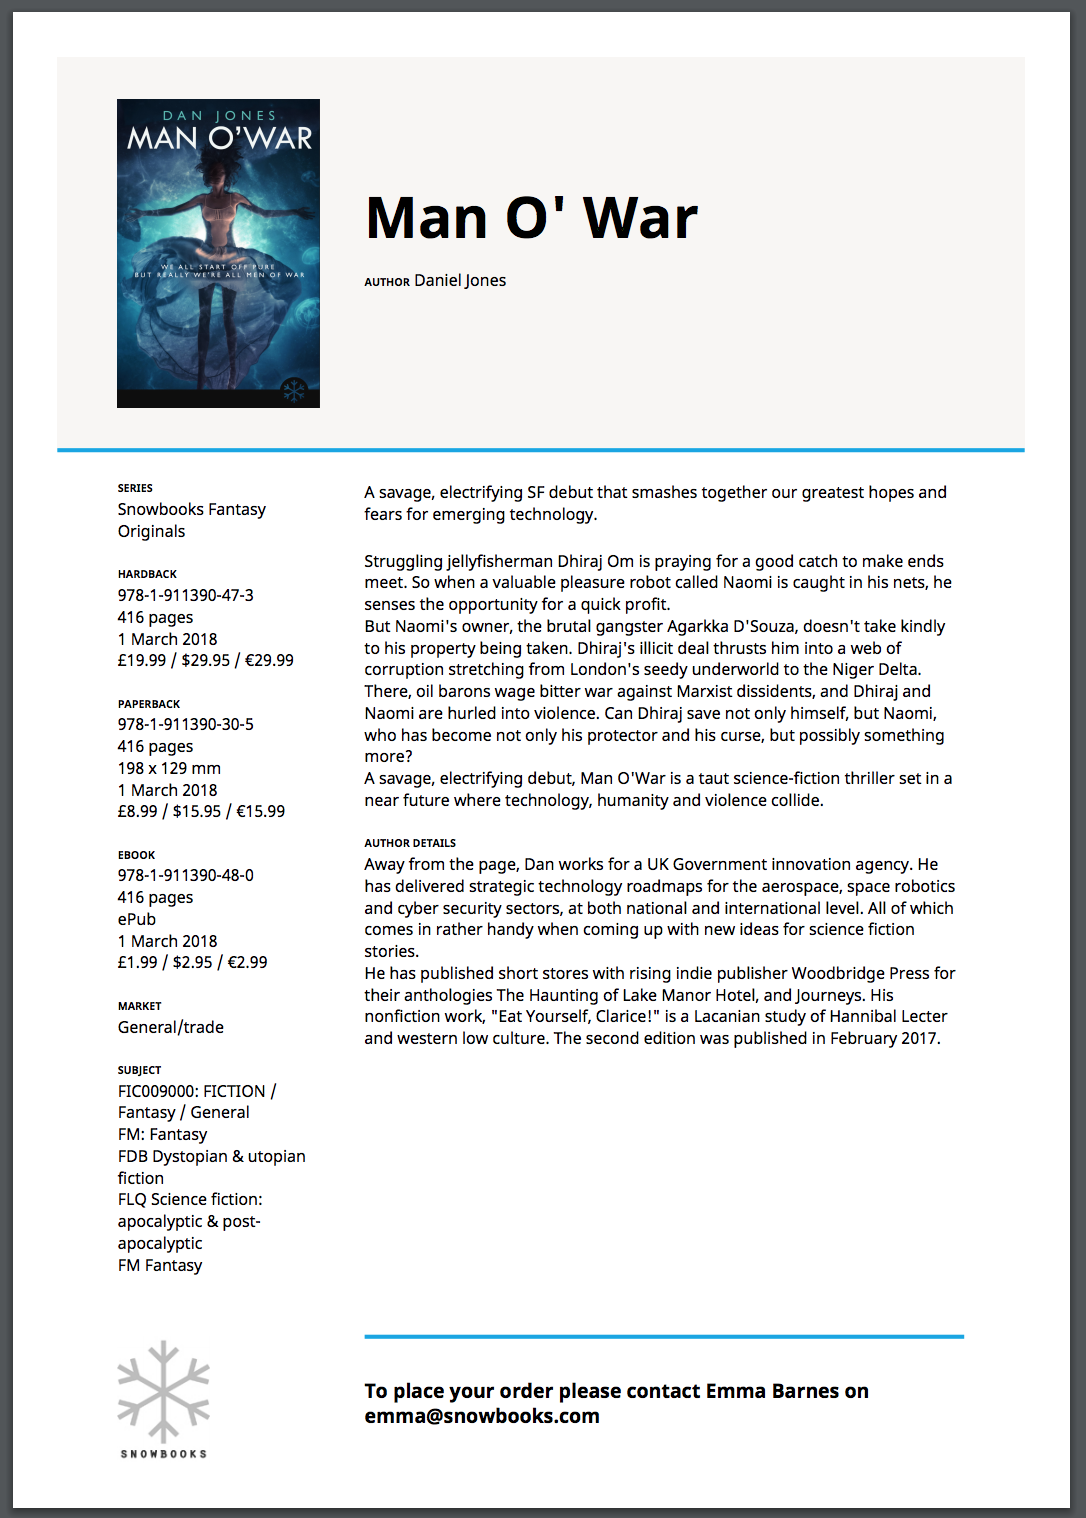
There are two steps to setting up an advance information sheet (AI). Both are within Settings > Configuration ⤴.
- First, set up an AI template.
- Secondly, apply it to the relevant imprint or imprints.
1. Create an AI template
Go to Settings > Configuration > Advance information sheet templates ⤴.
Click the Add template button to create your new template.
How to edit or create your AI template
Enter the details of your AI template.
- Enter a name for the template
Choose a design name. ‘Consonance Sans-serif’ is the best one to choose: read why If you have commissioned a bespoke template, its name will appear here.
Leave the override-key field as it is. This is used by the Consonance admin team to manage complex set ups where you have multiple templates to be used in different scenarios.
Tick the Default check box if this is going to be the default template
Enter footer information. This is the main point of this page: bear in mind that the default footer is a set height and if there is too much text in this field your AI will not render properly. The footer height can be raised: send support@consonance.app a ticket if you want to amend it.
Click Save
There are a number of straightforward configurations available on the default AI, and some which are more in-depth. All need code changes, so raise a ticket. The sort of straightforward configurations we can make quickly are below.
- show a barcode: default is false
- show editors only: default is false
- show minimal BIC codes: default is to show them all
- show minimal BISAC codes: default is to show them all
- show USD only: default is false
- show particular measurement units: default is
mm
, and alternatives arein
or both - show measurement width by height: default is to show them the other way around
- show fractional inches: this is the default rather than decimal
- show thickness: default is true
- no breaking space in measurements: default is false
- no isbn separator: default is false
- omit market: default is to show the market
- omit TOC: default is to show it
- omit key selling points: default is to show it
- show interest age: default is to hide it
- show related titles: default is to show them
- show sales rights: default is to hide them
- show warehouse date: default is to hide it
- show discount for: hidden by default but can be set to the name of the distributor it’s for e.g. chicago-distribution
- show weight: default is to hide it
- single ebook block: default is true: override if you want to see epub, PDF, mobi etc in separate blocks of data
- show spreads: default is to hide them
- show illustrations info: not shown by default
- show imprint: not shown by default
- show promotional announcement: not shown by default
- show comparison products: not shown by default
- vague date: default is to give day number of the month. This configuration gives M Y e.g. Jan 2001
- separated date: This configuration gives M D, Y e.g. Jan 24, 2001
- usd first: false by default
- show subtitle separately: by default the subtitle runs on from the title but it can be on a separate line
- show keynote: shows the keynote marketing description by default, but you can omit it
- show keynote separately: not separate by default
- show short not main description: uses main by default
- use internal description: by default the description info comes from main description external text, but you can override and use the internal text
- use internal bio: by default the author info comes from biographical note, but you can override and use the internal text biographical note
- sales people selling points: uses marketing texts of type Key Selling Points by default, but with this setting you can use Description for Sales People instead
- flat cover: shows 3d cover if present by default, otherwise 2d
- show review: reviews not shown by default
- CAD first: Present Canadian dollar currency first option
- TOC bullets: Have bullets on tables of contents, by default
- use restricted to booktrade selling points: not enabled by default
- includ bookshop classification: not enabled by default
- show minimal epub content package: not enabled by default
- show notes on related products: not enabled by default
- break on comparison products: not enabled by default
2. Apply your AI template to your imprint
Go to Settings > Configuration > Bibliographic > Imprints.
What if I don’t see any imprints here?
Click Add imprint to set up an imprint, and then continue with the steps below.
Click the Edit link on the relevant imprint, or the first of your imprints, to open its settings.
Apply the AI template by following these steps.
- Upload a logo in the ‘Logo’ section
- Under ‘AI and Marketing’, choose your AI template from the dropdown
- Add your point of contact
- Click Save
3. Test your AI on one of your products
Enter the name of a product in the search bar and go to the Overview page
Click on Exports and choose the AI for the product you’d like to test. The AI opens in a new tab.
Review your AI. It will have been automatically generated, as per the AI template.

If you are seeing unexpected line breaks or characters in your AI, try this troubleshooting page. It may be the result of copy and paste.